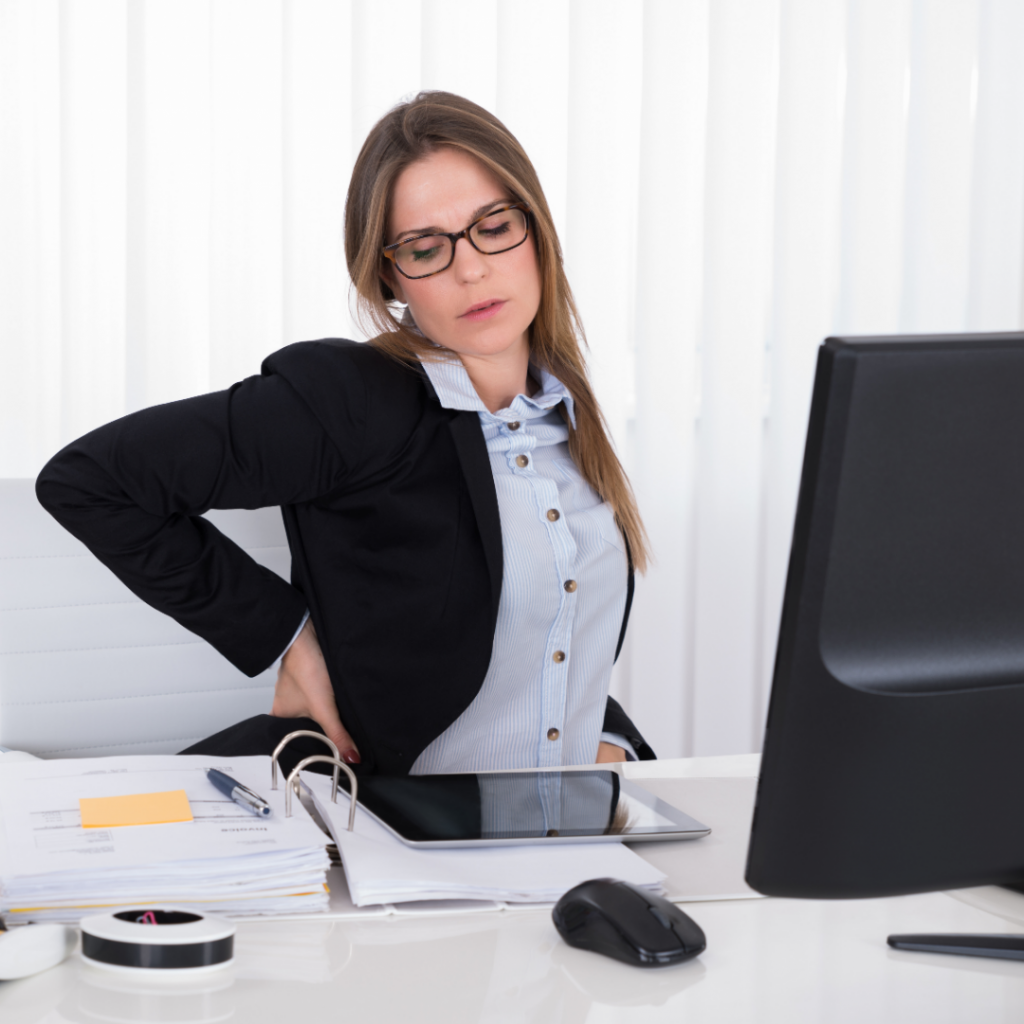
Back pain is something that is likely to affect us at some point over our lives. It is predicted 80% of adults will experience at least one episode of acute lower back pain. Many of which develop further to chronic back pain.
The initial pain is usually the result of lifting something heavy, an awkward movement or from poor posture. The lower back is comprised of delicate joints, bones, intervertebral discs, ligaments, nerves and muscles and as we age, some degeneration is inevitable and awkward movements can become more prevalent. However, improving your posture through intelligently strengthening and mobilising the trunk and lower body, helps to dramatically reduce the speed of this degeneration.
What to do if you’ve just hurt your back.
Back pain can also be misleading, sometimes the pain could be minor but the condition more serious. It’s important to get checked out by a doctor regarding any numbness and weakness in your legs.
But if you are aware of when the injury occurred there are things you can do to speed up recovery.
- Reduce inflammation with ice
- Apply some heat after 48 hours
- Keep mobile (try not to bed rest after a few days)
After a week you could be ready to try some stretching and mobility exercises, this can help blood flow move through the damaged regions and hopefully speed recovery. If you are experiencing acute back pain it is best to seek advice from a medical profession on the best course of action to rehabilitate.
Is there something you can do to stop having another episode of pain?
Once your back pain has subsided and you can move pain free, there is something you can do. You can strengthen the whole complex of muscles associated and improve ROM to avoid the likely hood of another episode occurring again. Here are the main rules to adhere to when strength training.
- Use muscles 2-3 times per week
- Focus on the intended muscles being worked
- Progress the exercises as you improve
- Utilise these drills before other exercise as a warm-up
Throughout this blog we will highlight exercises you can do to help free up tight muscles that may be contributing to lower back pain. We will also highlight various exercises that can to help activate and strengthen these muscles. These exercises can also improve the functional interplay of muscles specific areas of the body. For example, releasing and stretching the hip flexors, will improve the ability for glutei max contraction. We have split the exercises into three categories, release, mobility and activation. It is suggested that these exercises take place in this order.
Disclaimer: The training and instructional content contained on this website should be taken as information and not medical advice. Please consult your health professional before attempting these exercises.
Release:
The below videos look at various techniques for releasing muscles can lead to back pain when they are tight. Release work such as foam rolling helps to free up the muscles and improve their function. For a more in depth look on this concept, check out our blog on the benefits of engaging in self myofasical release.
Thoracic Release:
Focus on rolling the upper third of the back. Vary pressure by altering how much body weight you place on the roller. If the roller is too uncomfortable, start with a tennis ball and move it around the upper third of the back.
Serratus Release:
The serratus muscle runs along the rib cage and attaches to the scapula (shoulder blade). Tightness in this muscle can impact your ability to move your scapula through a full functional range of motion. Place the Roller along the rib cage as seen above and apply gentle pressure. If it feels sore, allow it to sit in that area and take deep controlled breaths. Again a tennis ball would be an appropriate alternative as a starting point.
Pec Release:
The pec minor connects directly to the shoulder blade and the pec major to the clavicle (collar bone) and upper arm. Tightness through these muscles are very common for people that sit at a desk in a hunched forward position. Place the roller on the pecs as shown above, place pressure through the muscle. Use your body weight to adjust pressure. Sit on areas that are particulalry sore and breathe in a deep controlled fashion. When the pain dissipates, continue to roll.
Rectus Femoris Release:
Place the roller central on the front of the leg. Starting from the hip, work your way down towards the knee. Vary pressure through adjusting the body weight going through the roller. Sit still on areas that are particularly sore and move on when the pain reduces.
Glutes Release:
The glutes consist of three muscles, glute max, glute medius and glute minor. The area of the glutes closest to your mid line is the gluteus maximus, as you go towards the side of your hips you will hit the glute medius. Aim to work both of these muscles. Placing your foot on the opposing knee will help to hit the glute medius. If this version is too intense, place both feet on the ground and repeat the same rolling motion seen above.
ITB Release:
The ITB isn’t muscle (it is a tendon) however, rolling down the lateral side of the leg can help to free up this whole area. Place the roller under the lateral side of the upper leg and move the roller from the top of the hip towards the knee. Sit still on areas that are particularly sore.
Mobility:
Mobility exercises help to move muscles through new ranges of motion and further assists in freeing up tight muscles. It is important that these exercises are conducted in a slow and controlled fashion. Aim to spend 60-120 seconds on each of these exercises. Below is a variety of exercises designed to highlight different ways to work on back mobility. It is not necessary to conduct all of them or perform them in this specific order.
Cat – Cow Pose:
Get on all fours on mat (hands under shoulders, knees under hips). Keeping the knees bent 90 degrees. For the Cat pose you will want to tilt your pelvis under your body allowing the spine to naturally round all the way up through to the shoulders. Slowly transition into the Cow pose by releasing the tension of the Cat pose, reversing the tilt of your pelvis and so your tailbone is facing the sky, let the abdomen sink down towards the floor and pulling your chest and head up creating an arch through the entire spine.
Lying Thoracic rotations:
Lay on your side with one knee bent at 90 degrees and level with your hips, the other straight and in line with the spine. Arms should be together, outstretched and level with your shoulders. Slowly rotate the thoracic spine pulling your hands apart, opening up the body until your chest is facing the sky
Kneeling Thoracic Rotations:
Get on all fours on mat (hands under shoulders, knees under hips). Keeping the knees bent 90 degrees. Place your hand on the side of your face and in a slow and controlled fashion, rotate your torso so the elbow is under your torso. Hold in end range for a couple of seconds, then rotate torso so elbow is pointing at the sky. Repeat.
Thread the needle:
Assume the Childs pose position. Hands out in front of the body reaching forward whilst pushing the hips back. In a slow and controlled manner, bring one arm under your torso by rotating your thoracic spine. Hold in end range for a few seconds and repeat on the other side.
Kneeling Torso Rotations:
From a kneeling position, place one foot in front of the body as seen above. Place finger tips on the side of head to bring the elbows out laterally. Ensuring a neutral spine is maintained throughout the movement, slowly rotate the torso to end range of motion and return to starting position.
Kneeling Torso Rotations + Lateral Bend:
Repeat the actions of the kneeling torso rotations. In end range of torso rotation, laterally bend the torso so the elbow is pointing towards the ground. Aim to maintain a neutral spine throughout the movement.
Hip Flexor Stretch:
From a kneeling position, bring one foot out in front of the body. Keeping the torso upright, push the hips forward until a stretch is felt in the hip and upper quad area of the grounded leg. Squeezing the glutei on this side assists with a greater stretch.
Activation:
Activation exercises assist with the mind body connections to muscles. For example, if you sit down for long periods of time the Glute Maximus can become inhibited to the point that when we run or walk, it is not operating at 100% of its capacity. If this is happening, other muscles such as the hamstrings, need to take on a greater load then they are designed to and this can lead to injury. Through activation exercises our aim is to help improve the signals from the brain to the muscle we intend to work. The benefits of having highly responsive and fully functional muscles will lead to benefits in the majority of daily movements. The activation exercises below focus on activating some of the key muscles that when not can lead to back pain when not functioning to their full capacity.
Banded bridges:
Lay on the floor with your feet flat and knees bent, place the band just above your knees. Begin by bracing your core to secure the spine. From here extend the hip upwards by driving both heels into the ground and maintaining the external force against the band, slowly descend
Clam shells:
Lay on your side, knees bent, heels in line with your spine and with the band just above your knees. Use your feet as a fulcrum and using the glutes pull your knees apart. If you are unable to reach the maximum lateral rotational ROM at the hip joint, use a band with lighter resistance.
Donkey Kicks:
Get on all fours on mat (hands under shoulders, knees under hips). Keeping the knees bent 90 degrees, engage at the glutes and extend the thigh at the hip until the thigh is level with the spine. Lower knee without touching floor and repeat.
Crab Walks:
Place the band around your ankles, stand upright with a slight hinge at the hips. Keep the legs stiff and step sideways with the band as resistance, focus on using the Glute Medius to facilitate each step.
Basic Hollow Hold:
Lay down on your back and bring your knees up so they are bent at 90 degrees. Place one hand on top of the other and bring them up above your chest. Slowly bring your chin up so it is pressig down on your chest. Retract your belly button down towards the matt to amplify core contraction. This exercise can be advanced by extending the legs and bringing the heels down closer to the ground.
Banded external rotation:
Stand upright with your elbows bent to 90 degrees and palms up. Hold a light band in your hands and while keeping your elbows close to the body, rotate the shoulders externally pulling the band apart
Rear delt pull apart:
Stand upright, holding the band up to shoulder height in both hands. Keep your elbow joints stiff as you pull the band apart stretching it out until your arms are wide and your rear delts are fully contracted.
Conclusion:
Back pain can be caused by a variety of acute or chronic factors. It is best to seek advice from a medical proffesional about the specific back pain you experience, before engaging in an exercise program to address it. Often back pain is caused by muscle imbalances, tightness and weakness in the muscles designed to provide strength and stability to the spinal column and hips. The above exercises can help to improve the, overall function of these muscles and keep back pain at bay. For more advice on exercise in general or personal training check out Functional For Life Personal Training.
Warning: The training and instructional content contained on this website should be taken as information and not medical advice. Please consult your health professional before attempting these exercises.


